
Digitopia Holographic LED Screen: High-Transparency Displays with S...
In a world where immersive experiences are redefining how brands engage audiences, Digitopia’s Holographic LED Screen stands out...
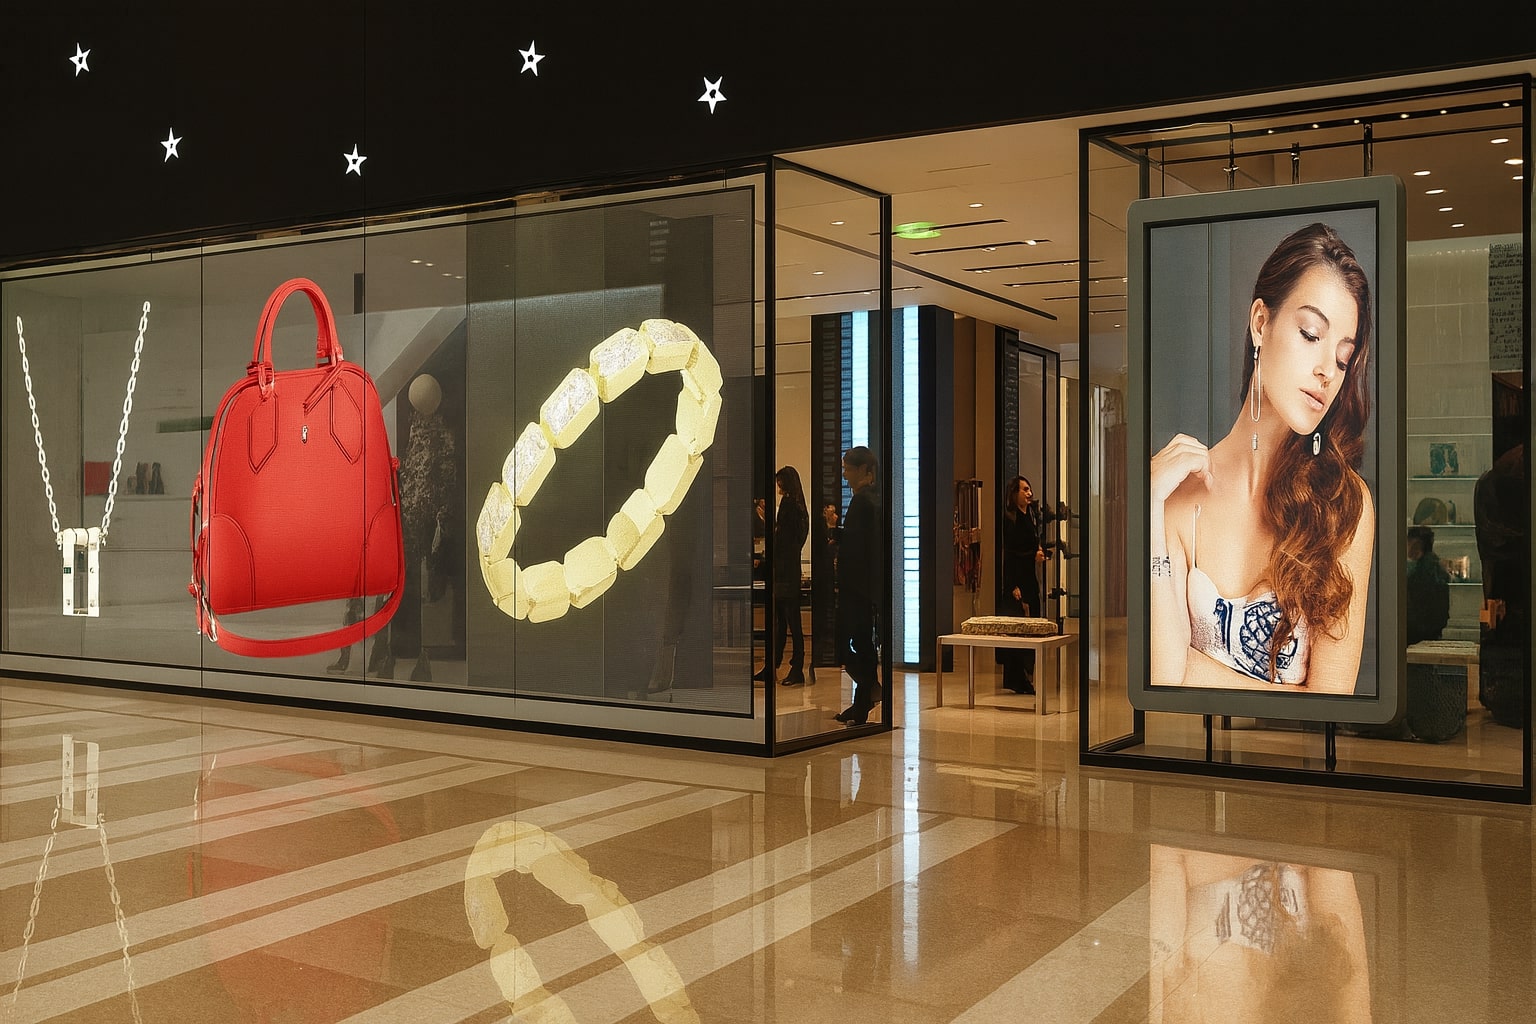
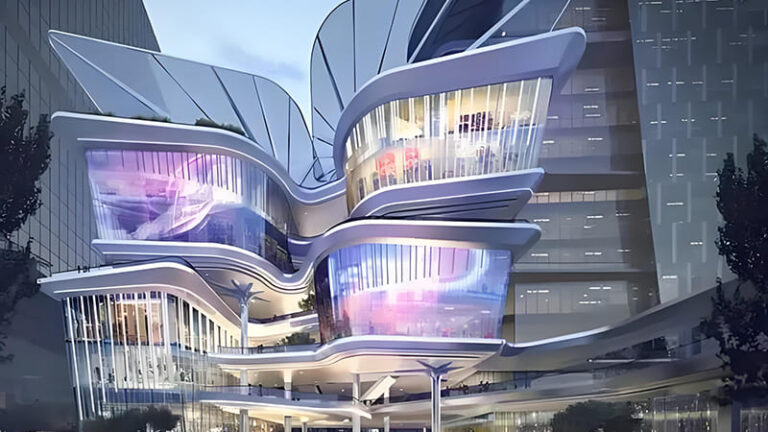
Digitopia’s STJ Series Transparent LED Film Displays are designed for sleek, modern applications such as glass facades, retail shopfronts, exhibition displays, and corporate environments. With their lightweight design and high transparency, these displays can be installed quickly and safely using two methods: Back Side Pasting and Front Side Pasting.
Below is a step-by-step professional installation guide to ensure durability, seamless visuals, and long product life.
Method 1: Back Side Pasting
This method is recommended for glass installations where the LED film is applied from behind the glass surface.
Method 2: Front Side Pasting
This method applies the LED film directly to the front side of the glass and requires water for proper adhesion.
View this video: The installation tutorial of Milestrong’s transparent LED film display STJ Series#transparentled
Professional Tips for Long-Lasting Installation
By following these steps, Digitopia’s STJ Series Transparent LED Film Display can be installed in a professional, durable, and visually flawless manner — ensuring your display delivers the modern, futuristic look it was designed for.
📞 For installation support or Digitopia LED film solutions, call +91 7799000590 / +91 7799000600
📧 Email: [email protected]
Digitopia™ by Ebani Tech
Redefining transparency in LED display technology.
In a world where immersive experiences are redefining how brands engage audiences, Digitopia’s Holographic LED Screen stands out...
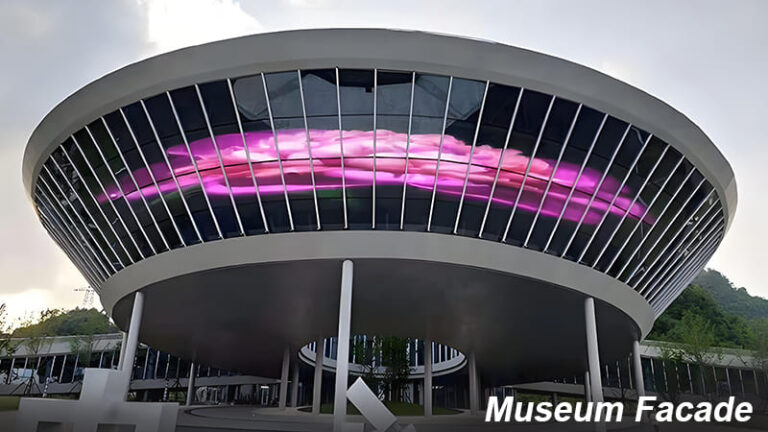
Modern museums are more than spaces to preserve history — they are cultural landmarks that blend architecture, storytelling,...
As technology continues to evolve, LED displays have become one of the most powerful tools for advertising, branding,...